Step-by-Step Troubleshooting
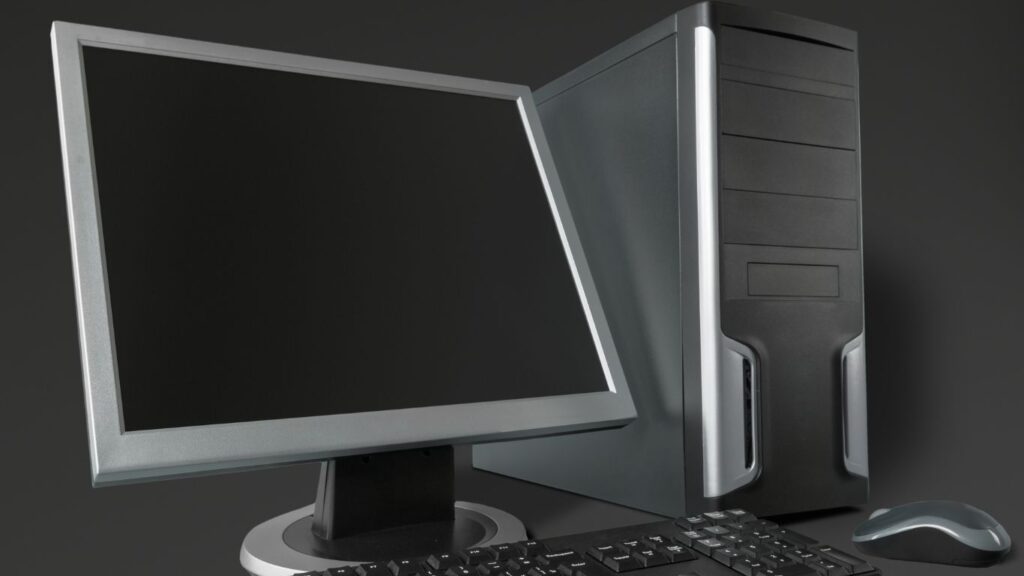
Few things are as frustrating as pressing the power button on your computer and finding that nothing happens. Whether you’re faced with a completely unresponsive system or one that powers on but refuses to boot, identifying the root cause is key to resolving the issue.
This guide walks you through step-by-step troubleshooting techniques to fix a computer that won’t turn on. From checking basic power connections to diagnosing potential hardware failures, you’ll find practical advice to get your system running again.
Step 1: Check the Power Supply
1.1. Is the Computer Plugged In?
It may seem obvious, but the first step is to ensure that your computer is properly connected to a power source.
- Check the power cable: Confirm that the cable is securely plugged into both the wall outlet and the back of your computer.
- Inspect the outlet: Plug another device (like a lamp) into the same outlet to verify it’s functioning.
1.2. Examine the Power Button
Sometimes, a stuck or damaged power button can prevent the system from starting.
- Press the power button firmly to ensure proper contact.
- If the button feels stuck, inspect it for debris or mechanical failure.
1.3. Test the Power Supply Unit (PSU)
For desktop PCs, the PSU is a common culprit when the system won’t turn on.
- Look for signs of life, such as lights or fan activity, when pressing the power button.
- If there are no signs, use a PSU tester or swap in a working PSU to rule out a faulty power supply.
Laptop-Specific Tips
- Ensure the battery is charged. If not, connect the laptop to its charger and allow it to charge for 10-15 minutes before attempting to power it on.
- Test the charger on another compatible device to confirm it’s working.
Step 2: Inspect the Hardware Connections
2.1. Check Internal Cables
If the computer powers on but doesn’t boot, loose internal connections may be the problem.
- Open the case (for desktops) and ensure all cables, including the motherboard power connectors, are securely attached.
2.2. Reseat Components
Improperly seated components can also prevent the system from starting.
- Remove and reseat critical hardware such as:
- RAM modules
- Graphics card (if applicable)
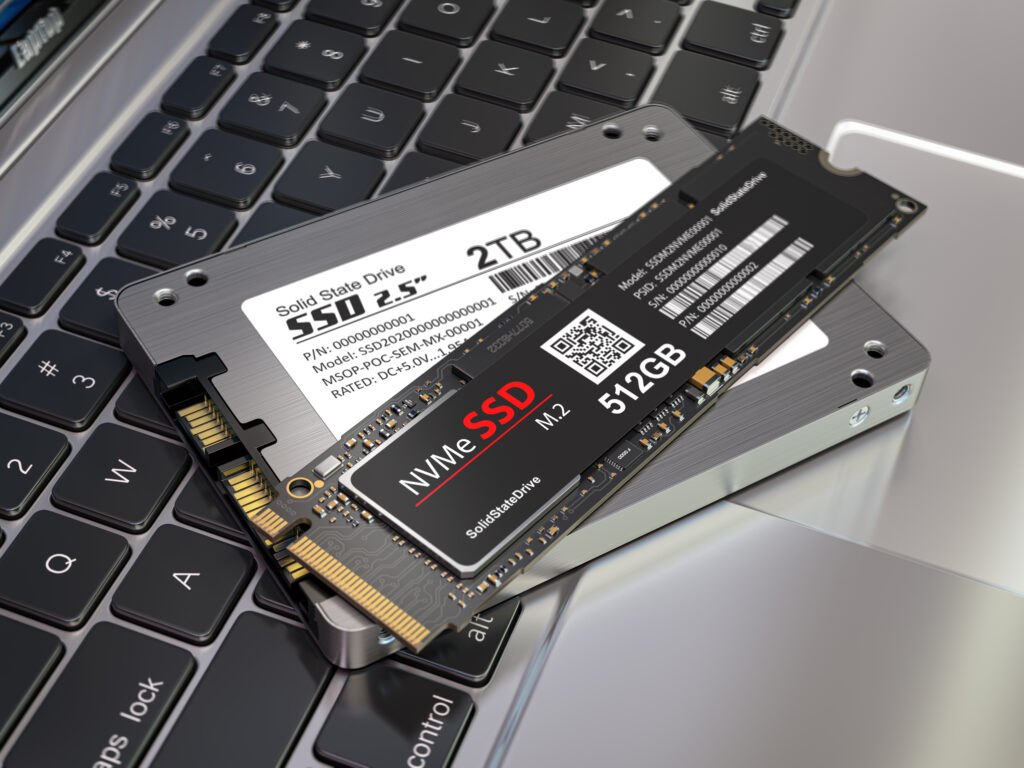
- Hard drives or SSDs
- Ensure that each component clicks into place firmly.
2.3. Disconnect Non-Essential Peripherals
A malfunctioning peripheral device can interfere with the boot process.
- Disconnect external devices such as USB drives, printers, or webcams.
- Attempt to power on the system with only the keyboard, mouse, and monitor connected.
Step 3: Identify Beeps or Error Codes
Many computers use beep codes or LED indicators to signal hardware issues.
3.1. Listen for Beep Codes
If your computer produces a series of beeps when powered on, these codes can point to specific issues.
- Refer to your motherboard’s manual to decode the pattern (e.g., one long beep and two short beeps may indicate a graphics card issue).
3.2. Look for Error Lights
Modern motherboards often include diagnostic LEDs to indicate problems with the CPU, RAM, or other components. Check your motherboard documentation to interpret these signals.
Step 4: Test the Monitor and Display
If your computer appears to power on (fans spin, lights activate), but nothing appears on the screen, the issue may lie with the display.
4.1. Confirm the Monitor is Working
- Ensure the monitor is powered on and connected to the computer using the correct cable (e.g., HDMI, VGA, or DisplayPort).
- Test the monitor by connecting it to another device, such as a laptop or console.
4.2. Inspect the Graphics Card
For systems with dedicated graphics cards:
- Verify that the card is properly seated in its slot.
- Try connecting the monitor directly to the motherboard’s video output to test the integrated graphics. If this works, the graphics card may be faulty.
Step 5: Boot into Safe Mode
If the computer turns on but fails to load the operating system, Safe Mode can help diagnose software-related issues.
5.1. Accessing Safe Mode (Windows)
- Turn off the computer completely.
- Press the power button to turn it on and immediately press F8 (or Shift + F8 for newer systems) repeatedly until the boot options menu appears.
- Select Safe Mode or Safe Mode with Networking from the list.
5.2. Troubleshooting in Safe Mode
- Update Drivers: Outdated or corrupt drivers can cause boot issues. Update them through Device Manager in Safe Mode.
- Uninstall Recent Software: If the problem started after installing new software, uninstall it to rule out compatibility issues.
- Scan for Malware: Run a full antivirus scan to detect malicious software interfering with the boot process.
Step 6: Diagnose the Hard Drive or SSD
Storage failures can prevent your operating system from loading properly.
6.1. Check for Connection Issues
- Ensure the SATA or NVMe cables connecting the drive to the motherboard are secure.
- Swap cables or ports to rule out a faulty connection.
6.2. Test the Drive
- Use a bootable USB drive with diagnostic tools like CrystalDiskInfo or the manufacturer’s diagnostic utility to check the health of the drive.
- If errors are detected, the drive may need to be replaced.
Step 7: Reset the BIOS or UEFI Settings
Incorrect BIOS settings can prevent your computer from booting.
7.1. Reset BIOS to Default
- Enter the BIOS or UEFI menu by pressing the designated key (e.g., F2, Del, or Esc) during startup.
- Look for the option to Load Default Settings or Reset to Factory Defaults, then save and exit.
7.2. Clear the CMOS
- Turn off the computer and unplug it.
- Locate the CMOS battery (a small coin-shaped battery on the motherboard).
- Remove the battery for 5-10 minutes, then reinsert it to reset the BIOS settings.
Step 8: Test the RAM
Faulty RAM can prevent a computer from turning on or cause it to crash during boot.
8.1. Run a Memory Diagnostic
- Use the built-in Windows Memory Diagnostic tool:
- Boot into Safe Mode.
- Search for Windows Memory Diagnostic and follow the prompts to test the RAM.
- Alternatively, use a bootable tool like MemTest86 for more comprehensive testing.
8.2. Test RAM Modules Individually
- Remove all RAM modules except one and attempt to power on the computer.
- Repeat the process with each module to identify the faulty stick.
Step 9: Address Potential CPU or Motherboard Failures
If all other components check out, the issue may lie with the CPU or motherboard.
9.1. Inspect for Physical Damage
- Check for visible damage, such as burnt components, swollen capacitors, or bent CPU pins.
- Ensure the CPU cooler is properly installed and making good contact.
9.2. Consult a Professional
Diagnosing motherboard or CPU issues often requires specialised tools and expertise. If you suspect either component is faulty, consider seeking professional assistance.
Step 10: Reinstall the Operating System
If hardware checks out but the system still fails to boot, the operating system may be corrupted.
10.1. Backup Important Files
Before reinstalling, use a bootable USB drive or external enclosure to access and back up critical data from the hard drive.
10.2. Reinstall Windows
- Create a bootable USB drive using the Windows Media Creation Tool.
- Insert the drive and boot from it.
- Follow the on-screen instructions to reinstall Windows.
When to Call for Professional Help
If you’ve tried all the steps above and your computer still won’t turn on, it may be time to seek expert help. Professionals can:
- Perform advanced diagnostics using specialised tools.
- Replace components like the motherboard, CPU, or graphics card.
- Recover data from damaged or failing drives.
Preventive Measures to Avoid Future Issues
Once your computer is running again, take steps to minimise the risk of future problems:
- Use a Surge Protector: Protect your system from power surges that can damage internal components.
- Regularly Clean the System: Dust buildup can cause overheating and hardware failure. Clean your computer every 3-6 months.
- Update Software: Keep your operating system, drivers, and antivirus software up to date.
- Back Up Data: Regular backups protect against data loss due to hardware failure or corruption.
Final Thoughts
When a computer won’t turn on, the problem can range from something as simple as a loose cable to a more serious hardware failure. By following these step-by-step troubleshooting techniques, you can identify and resolve most issues without professional assistance.
Remember, patience and a methodical approach are key. With the right tools and knowledge, you can get your computer back up and running and reduce the likelihood of future issues.